
As we strive to optimize our workspaces, adapting to a setup that meets our specific needs becomes crucial.
Perhaps you’ve decided to adopt a minimalist aesthetic, or you’ve chosen to enhance your productivity by freeing up desk space.
In such cases, removing your Sceptre monitor stand to transition to a wall mount or a monitor arm might be the perfect solution.
But how exactly do you go about this process without damaging your equipment?
We’ve got this comprehensive step-by-step walkthrough to ensure you can safely accomplish this task.
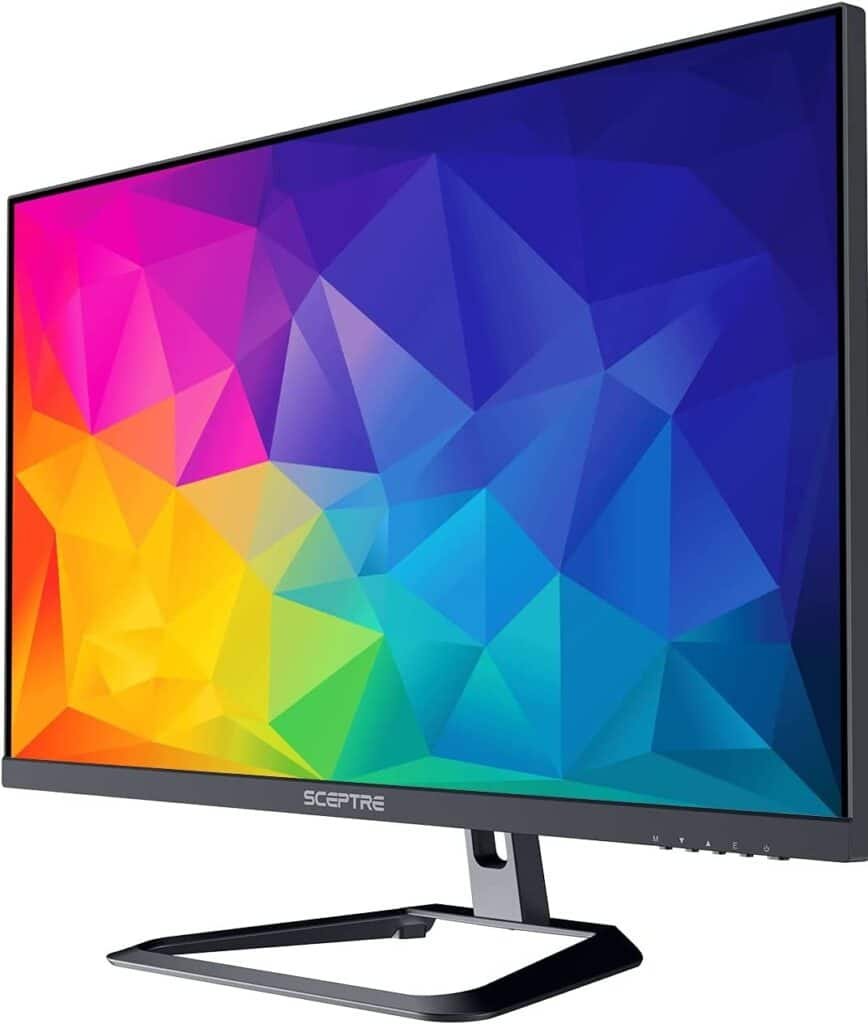
Identifying Sceptre Monitor Components
Before diving into the process of removing your Sceptre monitor stand, it is essential to familiarize yourself with the standards for monitors and the various components of a generic monitor.
This is because they are similar across various Sceptre monitor models, from budget monitors to gaming monitors and curved monitors.
This will ensure that you understand the monitor details and parts you’re working with and help you follow the removal steps effectively.
As a home electronics expert, I’ll break down the primary monitor stand components you should be aware of when working with a Sceptre monitor and doing monitor stand disassembly.
First and foremost is the LED monitor screen.
This is the central component where images and videos are displayed on the monitor surface.
It’s the part you look at when using your LED or LCD monitor and typically features LED technology, which offers improved color quality and energy efficiency.
Next up is the base.
The base is the part of the basic monitor stand that rests on your desk or table, providing stability and support.
It can vary in shape and size, but it is designed to distribute the weight of the monitor evenly, ensuring that it remains steady and secure during usage.
Connected to the base is the stand, sometimes referred to as the neck of adjustable monitors.
The stand extends up from the base and connects to the back of the screen.
It is responsible for holding the screen at a comfortable viewing height and can often be adjusted for optimal ergonomics.
Moreover, the stand may include a monitor cable management system to keep your workspace clutter-free.
Behind the screen, you will find a series of connectors.
These are the ports where you can plug in your power cord, video cables (such as HDMI, DisplayPort, or VGA), and any other peripheral devices you may need.
Some monitors even have USB ports for additional connectivity options.
Finally, your Sceptre monitor may include an LED light—usually found at the bottom right corner of the screen’s bezel.
This light serves as a power indicator for the power button, letting you know when your monitor is turned on or in standby mode.
Now that you’re acquainted with the core components of your Sceptre monitor, you’re prepared to tackle the stand removal process with confidence.
Since you’re well-versed in the different parts of your monitor, following the stand monitor removal steps should feel intuitive, and you’ll be able to accomplish the task efficiently.
Removing the Monitor Stand
Before you start on this process, you’ll need to gather a few essential tools and materials.

Let’s first discuss what you’ll need.
Gathering Tools and Materials
For this task, you’ll need the following items:
- A flat head screw driver (typically Phillips head screwdriver)
- A soft cloth or padding (optional)
- A clean, flat surface to work on
Once you have the necessary tools and materials, you can proceed with the steps to remove your Sceptre monitor stand.
- Disconnect the power cable and any connected auxiliary cables: Before you start, unplug your monitor from the power outlet or power strip and disconnect any additional display cables such as HDMI or USB.
- Lay the monitor on a flat surface: Place your monitor face down on a clean, flat sturdy surface. If you want extra protection for your screen, lay a soft cloth or padding between the screen and the stable surface.
- Removing the monitor stand base: Locate the screws that are securing the stand base to the monitor. Using your screwdriver, unscrew them counterclockwise until they come off. Keep the screws in a safe spot for future reassembly if required.
- Removing the monitor stand neck: Similar to removing the base, locate the screws holding the neck to the monitor. Unscrew them counterclockwise until they come off, and store them safely for future reassembly if needed.
Remember to stay patient and work carefully to avoid any damage to your monitor during this process.
By following these steps, you’ll have your Sceptre monitor stand removed in no time.
Instructions for Disassembly
Disconnecting Cables
First, make sure to unplug your Sceptre monitor from its power supply and remove the power plug from the outlet.
Detach any other cables connected to the monitor (HDMI, DVI, DisplayPort, etc.).
It’s essential to ensure that there are no live connections before starting the disassembly process.
Unscrewing the Stand
Next, lay the monitor face-down on a flat surface, like a table, on top of a soft cloth or towel to protect the screen and get your screwdriver ready.
Find the neck screws located at the back of your Sceptre monitor body.
These screws hold the original monitor base in place. You’ll need to use a Philips flathead screwdriver to carefully unscrew them.
Detaching the Base
Once you’ve removed all the neck screws, you can easily take off the original monitor base and stand assembly.
Gently pull the base away from the monitor to ensure you don’t damage any internal parts.
You’ve now successfully disassembled your Sceptre monitor stand!
Remember, you can always refer to the user manual or look for an instructional video or image if you need additional guidance during the disassembly process. Best of luck with your monitor modifications!
Reattaching the Stand and Cables
Once you’ve completed whatever task required the removal of your Sceptre monitor stand, it’s time to reassemble everything and get your monitor back up and running.
Don’t worry; reattaching the stand and cables is just as straightforward as removing them.
First, take the stand base and position it on your table or desk.
Look for the circular shape on the stand where the TV’s neck will attach.
Now, hold the monitor at a 45-degree angle, and carefully insert the neck into the stand base.
Make sure it sits flush and in the correct orientation.
Next, grab your Phillips screwdriver and the screws you removed earlier.
Attach the neck to the base by securing the screws in the designated holes.
Ensure the screws are tight, but be cautious not to overtighten them and risk damaging the monitor.
After reattaching the stand, it’s time to focus on the cables. Start with the power supply cable and locate the power connector on the monitor.
Plug the power cable in, making sure it’s firmly in place.
Next, move on to your auxiliary cables, such as HDMI, DisplayPort, or VGA cables.
One by one, connect each cable to its designated port on the monitor.
Once all of your cables are reconnected, ensure they are properly organized and secured to avoid any potential tripping hazards or disconnections.
Managing your cables also helps maintain a clean and professional workspace.
Now that everything is back in place and reassembled, take a step back and double-check that all connections have been made correctly.
With everything reattached and in order, you’re ready to power on your Sceptre monitor and enjoy a seamless and visually appealing experience once again.